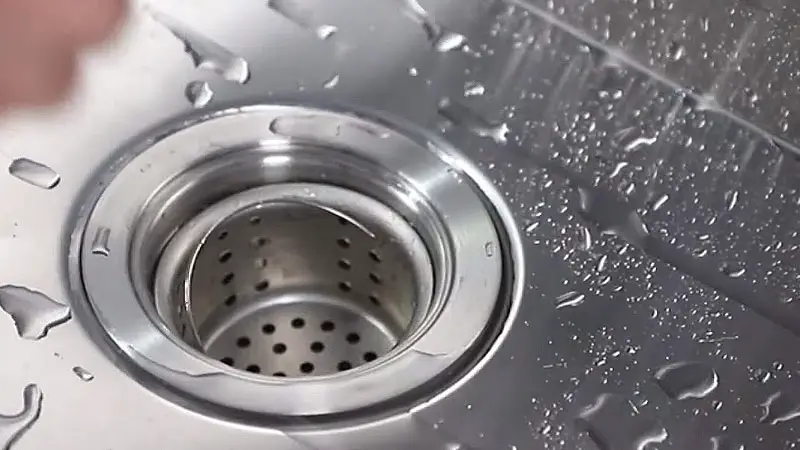
Cleaning your kitchen involves more than just wiping down surfaces; it also entails taking care of little details like the splash guard around the garbage disposal. This article explains how to clean your splash guard quickly and efficiently, keeping your kitchen odor-free and hygienic.
Typically composed of rubber, the splash guard can collect food particles, oil, and bacteria, leading to unpleasant smells and possible health problems. Cleaning your garbage and kitchen on a regular basis is essential. This guide provides you with easy ways to ensure that your splash guard stays clean, keeping your kitchen fresh and healthy. It covers everything from fundamental safety precautions to applying simple cleaning products.
How to Clean the Splash Guard on a Garbage Disposal
Keeping your kitchen odor-free and spotless requires regular cleaning of the splash guard around the garbage disposal. Food fragments, oil, and germs can build up on the splash guard over time, causing foul smells and even hygienic problems. To properly clean the splash shield on your garbage disposal, follow these steps:
Materials Needed
- Dish soap
- Baking soda
- Vinegar
- An old toothbrush or scrub brush
- Rubber gloves
- Towel or paper towels
Step 1: Prioritize Safety
Prioritizing safety is vital before beginning the cleaning process. After disconnecting the garbage disposal from the power source, turn it off. By taking this preventive step, you can be sure that there is no chance of an accident occurring from the disposal unit turning on by mistake while you are cleaning.
Step 2: Get Rid of Debris
First, clean the splash guard of any visible trash or food particles. You can use your hands (while wearing gloves) or tongs for this. Eliminating the first debris improves cleaning efficiency and stops offensive smells from spreading.
Step 3: Get a Cleaning Agent Ready
Mix a small amount of dish soap with some warm water to make a cleaning solution in a bowl. The grease and filth on the splash guard are broken down by the dish soap. Stir in a tablespoon of baking soda for an additional boost. Cleaning and deodorizing are two of baking soda’s well-known uses.
Step 4: Let the Splash Guard Soak
Gently scrub the splash guard on both sides after dipping an old toothbrush or scrub brush into the soapy water solution. Make sure to remove any collected material by getting into all the nooks and crevices. Reluctant residues can be loosened by letting the splash guard remain in the soapy water for a few minutes.
Use Vinegar for Disinfection
Pour a cup of white vinegar into the waste disposal for a complete cleansing. As a natural disinfectant, vinegar helps get rid of germs and balance out smells. Allow the vinegar to seep in and thoroughly sanitize the splash guard for ten to fifteen minutes.
Step 6: Scrub Again
Use the toothbrush or scrub brush to clean the splash guard once the vinegar has had a chance to do its job. In order to make sure that every particle is released and prepared for rinsing, this second round of scrubbing is helpful.
Step 7: Give It a Good Rinse
To completely remove the vinegar, soapy water, and loose debris from the garbage disposal, run hot water through it for several minutes. This is a crucial step in clearing the drain and avoiding any residual smells. Any leftover particles are also helped to move by the water’s power.
Step 8: Allow the Splash Guard to Dry
After washing, completely dry the splash guard with a towel or paper towel. In order to keep the kitchen sanitary and clean, drying is necessary to stop the growth of mold and mildew.
Step 9: Consistently Maintain
Make cleaning the garbage disposal splash guard at least once a month a routine to avoid buildup in the future and to maintain a fresh and clean kitchen. Maintaining the disposal unit in top operating order and avoiding any hygienic problems brought on by a dirty splash guard require routine maintenance.
You can maintain the best possible condition for your garbage disposal splash guard and help keep your kitchen odor-free by carefully following these instructions. Not only may routine cleaning increase the effectiveness of your disposal unit, but it also helps you and your family live in a healthier atmosphere.
FAQs
How often should I clean the splash shield around my garbage disposal?
The frequency of cleaning is dependent on consumption. It is advised to clean the disposal once a month if you use it frequently to avoid the accumulation of bacteria and food particles. However, think about cleaning it more frequently if you detect smells or obvious clutter.
Can I clean the splash guard with any kind of soap?
For regular cleaning, mild dish soap works well, but it’s best to go with an environmentally friendly and biodegradable solution. Over time, harsh chemicals may erode the splash guard’s rubber substance, reducing its longevity.
Why is it important to turn off the garbage disposal before cleaning the splash guard?
For your own protection, make sure the disposal is turned off. By preventing inadvertent activation while cleaning, it lowers the possibility of harm. Removing the plug offers an additional level of safety, guaranteeing that there is no possibility of an unplanned restart.
When cleaning the splash guard, is it required to wear gloves?
It is strongly advised to use gloves, especially when manually clearing debris. Not only do gloves shield your hands from possible toxins, they also act as a barrier against any sharp edges in the disposal unit.
Can I use merely water to clean the splash guard?
Although water is capable of eliminating loose particles, it is more efficient to use a soapy solution. A more thorough cleaning is made possible by the soap’s ability to break down grease and grime. Baking soda improves cleaning effectiveness and aids in odor neutralization.
How can I get the garbage disposal to stop smelling bad?
You may get rid of lingering smells by routinely cleaning the splash guard. You can also use a vinegar and baking soda mixture, or you can ground up citrus peels. Odors can be eliminated with the help of vinegar’s inherent cleansing qualities and the acidity of citrus.
Can I use a toothbrush to clean the splash guard?
Yes, cleaning the splash guard with an old toothbrush with soft bristles works well. To prevent cross-contamination, make sure the toothbrush is clean and set aside specifically for this reason.
Can white vinegar be used in the garbage disposal without risk?
The splash guard can be safely and effectively cleaned and disinfected with white vinegar. The disposal unit won’t be harmed by this natural cleanser. Vinegar’s acidity aids in odor neutralization and residue breakdown.
How can I stop the splash guard from getting moldy?
To stop mold from growing, the splash guard must be completely dried. Use a towel or paper towel to make sure the splash guard is totally dry after cleaning. Since mold loves moisture, it’s important to get rid of it.
Can I clean the splash guard with a commercial garbage disposal cleaner?
You can use professional garbage disposal cleansers, but you must make sure the product is safe for rubber parts. Observe the guidelines provided by the manufacturer and use caution when using harsh chemical cleaners as they may eventually cause damage to the splash guard. Prioritize your disposal unit’s longevity and safety at all times.
Final Words
You can maintain a clean and fresh kitchen by including these easy cleaning procedures in your daily routine. By keeping the splash guard clean, you can keep your disposal unit operating more efficiently by preventing the buildup of debris. A monthly cleaning schedule, the use of eco-friendly cleaning products, and a focus on safety all help to prolong the life of your splash guard and keep your kitchen pristine. You and your family can enjoy a more comfortable and hygienic kitchen area when these procedures are followed.